
Want to create a custom Airtable form on your WordPress website?
Airtable is a cloud service that lets you build custom spreadsheet apps without having to write a line of code. Airtable form makes it easy to save your user’s information into an Airtable base.
In this article, we’ll show you how to create a custom Airtable form for WordPress.
Why Create a Custom Airtable Form in WordPress?
Airtable forms are great for websites that conduct quizzes and polls, collect customer information, do product planning, content calendar planning, etc.
Airtable makes it easy to collect information in long tabular forms.
Basically, you can create visually stunning spreadsheets that can be used for storing information on your database. However, all the data in these forms have to be entered manually which of course is a tedious task. To tackle this issue, you can create a WordPress form and integrate it into your Airtable account.
How to Create a Custom Airtable Form in WordPress
The best way to build a custom Airtable form in your WordPress site is to use the WPForms plugin. WPForms is the best and the most popular WordPress form builder plugin that lets you create any kind of form within minutes.

It offers several beautiful templates that are ready to be used right away. You can also use these forms to collect payments, prevent spam submissions, add geolocation and do a lot more. To learn more about it read our review on WPForms.
One of the features of this plugin is to let you connect the form to your Airtable account using Zapier. Zapier is an app that connects to over 1,500 applications on the web, including Airtable, Google Calendar, Slack, Gmail, etc.
Once you connect your form to Airtable, all the information in the form will automatically be added to your Airtable account. Isn’t that a quick and simple way to save your information? So let’s check out how to create a custom Airtable form in WordPress.
Step 1: Creating a WordPress Form with WPForms
To start creating your form, you’ll first have to install and activate the WPForms plugin on your website. Upon activation go to WPForms » Add New to create a form.
Now select the Simple Contact Form option. You can also add a name to your form in the form name field.
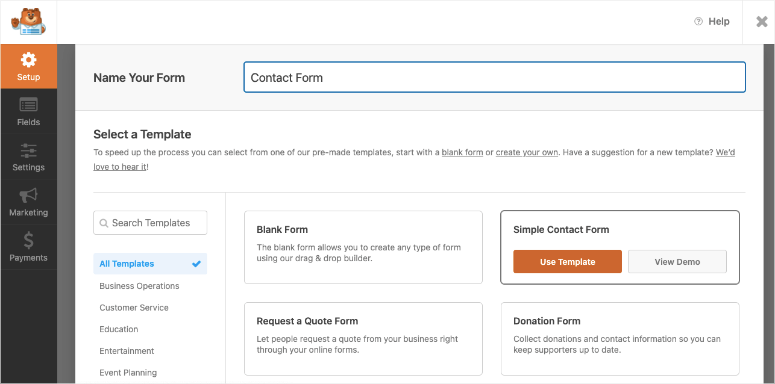
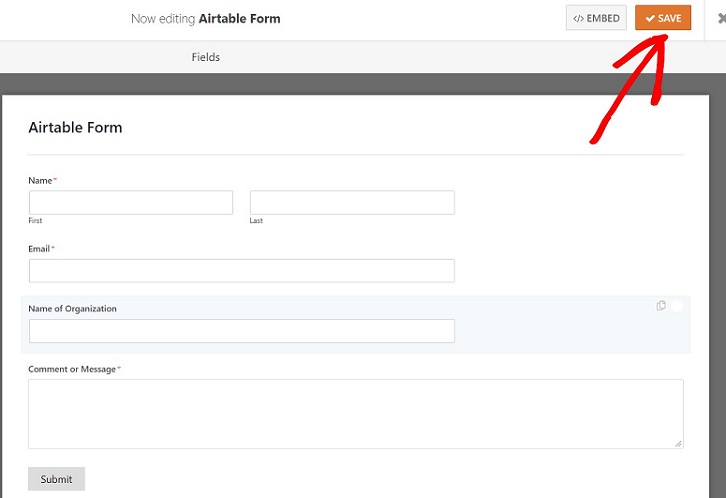
The simple form will have some basic fields like Name and Email Address. You can add more fields to this form by simply dragging and dropping the fields from the left side of your screen. If you want more information, then check out our guide on how to create a simple contact form.
Once you’re done customizing your form, you can make changes to the notification and confirmation settings of this form. Finally, click on the Save button so you don’t lose your settings.
Step 2: Installing the Zapier Addon for Airtable Integration
In the next step, you need to install the Zapier addon. With Zapier you can connect your form to more than 2 apps at the same time.
Here we’ll use Zapier to connect our form to Airtable. To install Zapier, go to WPForms » Addons. Now use the search field to look for the addon.
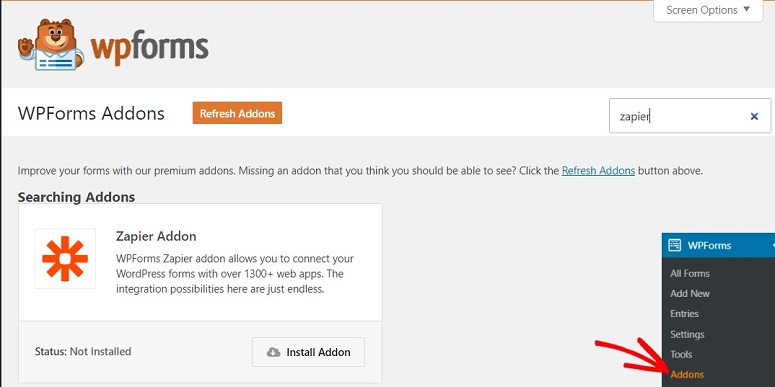
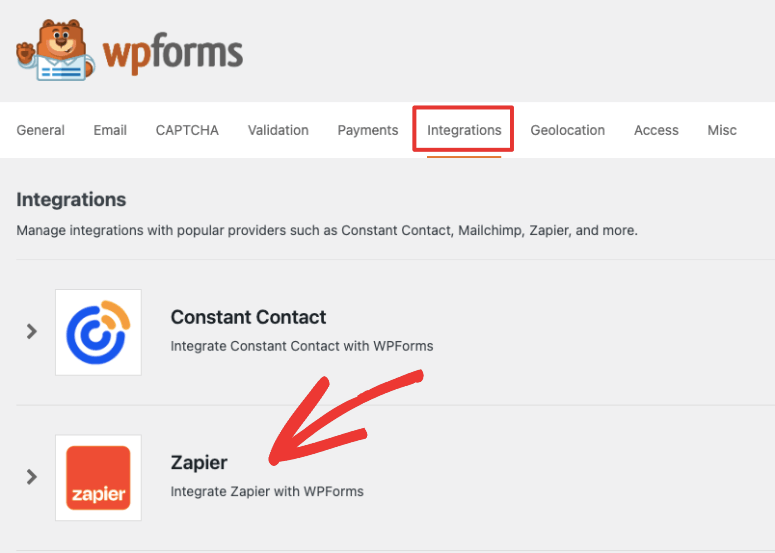
Once found, click on the Install Addon button. Now go to the WPForms settings page and click on the Integration tab. Here you’ll find your Zapier API key, which will be used to connect your WPForms to your Zapier account.
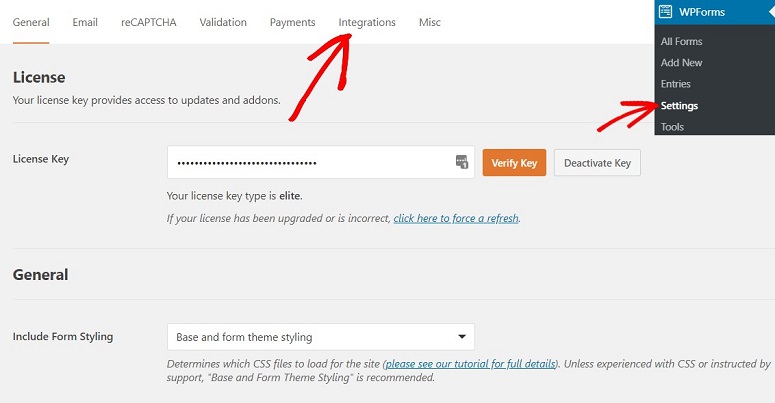
On this page, you can see the Zapier logo. Click on it to find the API key. Keep this page open. We’ll need this API in the following step.
Step 3: Creating the Zap
A Zap is an automated task in which you can simultaneously run and connect two or more online apps. But for that to happen, you will first have to set up a Zapier account. Open a new tab and create a Zapier account.
To do that, just go to the Zapier official website and click on Sign up. You can then use your email address to sign up.
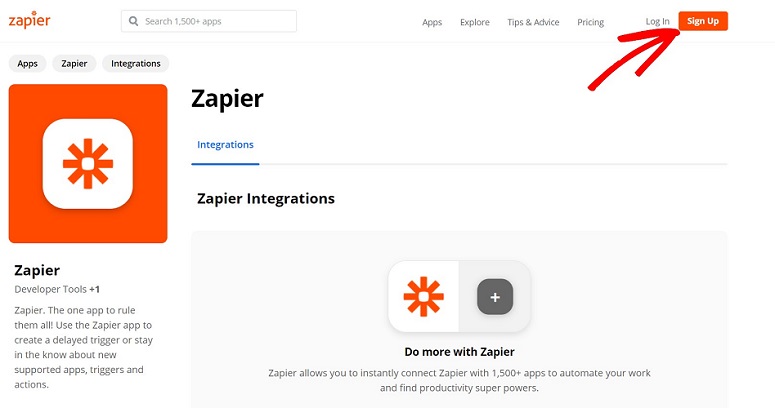
Once you’re in your Zapier dashboard click on the Make a Zap button.

Now you have to configure two things:
- Configure the Trigger App
- Configure an Action App
Let’s look at them step by step.
Step 4: Configuring the Trigger App for Airtable
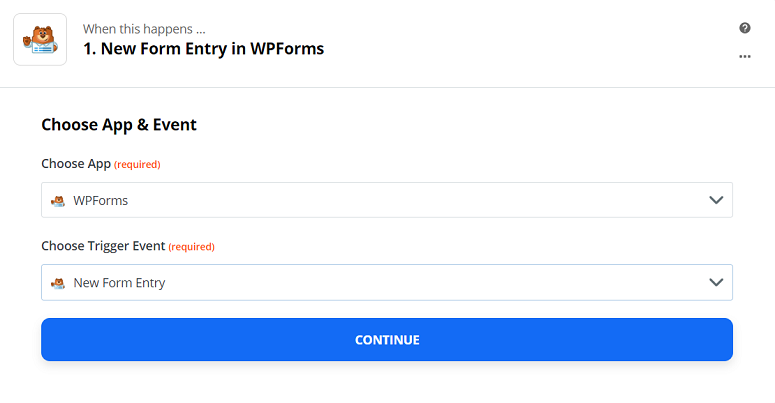
Zap needs a trigger for every specific action to occur. Here we’ll need to configure WPForms as the trigger app. When you click on the Make a Zap button you’ll be taken to a new screen. On this page, you can use the search field to look for WPForms. Once found, click on it to proceed to the next step.

In the next step, select the Continue button.
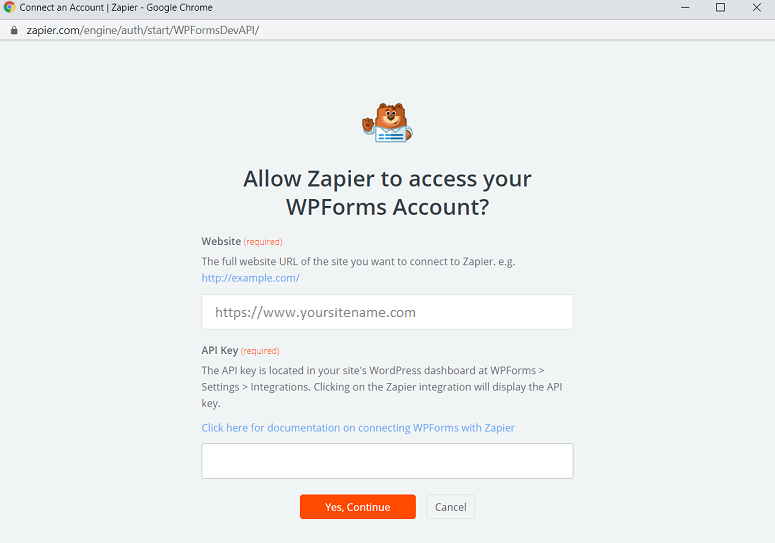
You’ll now see a new screen where you need to login to your WPForms account. Upon clicking on the Sign in to WPForms button you’ll see a new window popup where you can enter your website address and the API key that we need in step 2. After entering these details, click on the Yes, Continue button.
You’ll see that your WPForms plugin is added to the Select WPForms Account page. Now click on the Test button on your screen to check if the Zapier account has been properly integrated to your WPForms plugin.
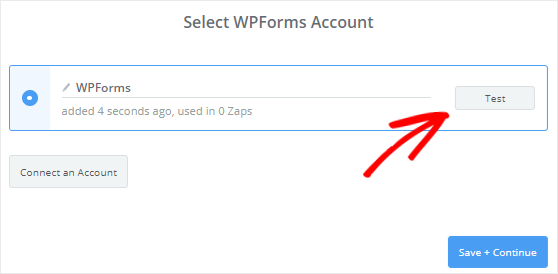
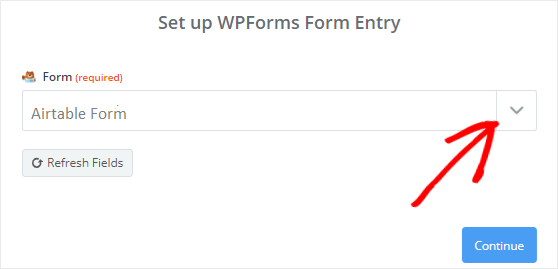
If you receive a success message, then you should click on the Save+Continue button to proceed. Now Zapier will access your WPForms plugin and can fetch all the forms that you have created with your account. Using the drop-down arrow, select the form that you’ve created earlier and click on the Continue button.
Now, Zapier will retrieve all the entries of your form. Select any one of the form entries so that it can be used for testing the connection between WPForms and Airtable. Click on the Continue button to proceed.
Step 5: Configuring the Action App
This step is a continuation of the previous one and we’re going to configure the action app here. For that click on the link shown in the screenshot below.

You can now choose the Airtable app using the dropdown arrow.

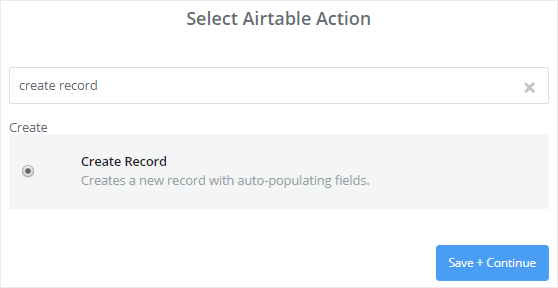
You’ll now be asked to select the Airtable action. You’ll have several options here. Select the option that you need. Here let’s select the create record option. Finish the step by clicking on the Save+Continue button.
In the next step, hit the Connect an Account button to connect your Airtable account to Zapier. A popup window will now appear on your screen asking you to enter your Airtable API key. To get your Airtable API, open a new tab and login to your Airtable account. You’ll find your API under Account Overview. Click on your profile picture in the top right corner and click on Account Overview.
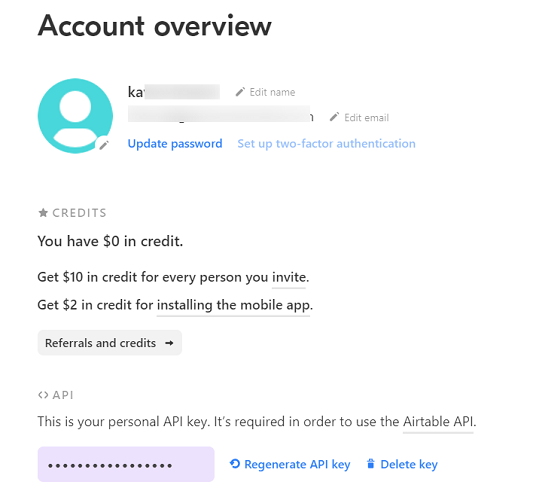
You can view the API by clicking on the text box. Now copy and paste this API in your Zapier window.
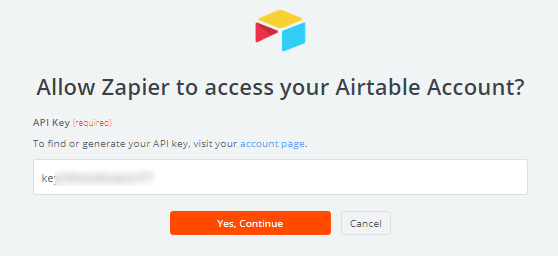
Once done hit the Yes, Continue button. You’ll now see that your Airtable account is being added to the Select Airtable Account page. You can now click on the Test button to test the connection between your Zapier and Airtable accounts.
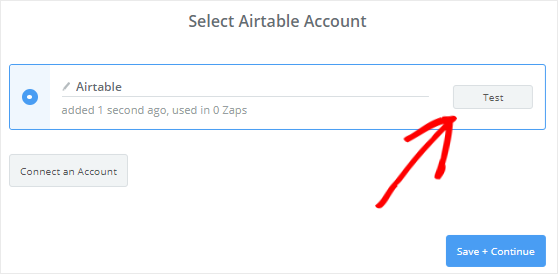
Step 6: Setting Up and Testing the Airtable Template
The final step is to set up and test the Airtable template. You can find the Airtable templates by clicking on the Templates tab at the top of your Airtable account.

To select a template, you’ll first have to select a base. Let’s select User Research as the base for the sake of this tutorial. Here’s what our template looks like.
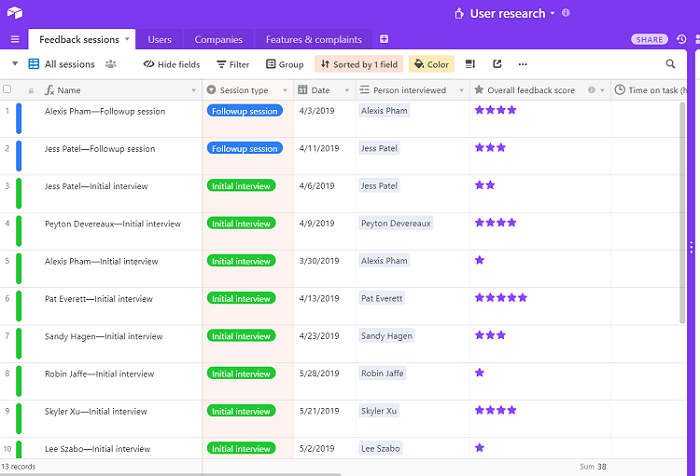
Zapier will fetch the data from your Custom Airtable form for the fields. Each of these fields is editable. Once done, scroll down and click on the Continue button. In the next step, you can check your WPForms and Airtable connection by clicking on the Send Test to Airtable button.
A new contact will now be created with the test form entry in your Airtable account. You can log in to your Airtable account to confirm if the contact has been created. If it’s done you can return to your Zapier account and hit the Finish button to complete the process. Scroll down your screen and swap the Your Zap option on. You can also add a name to your Zap.
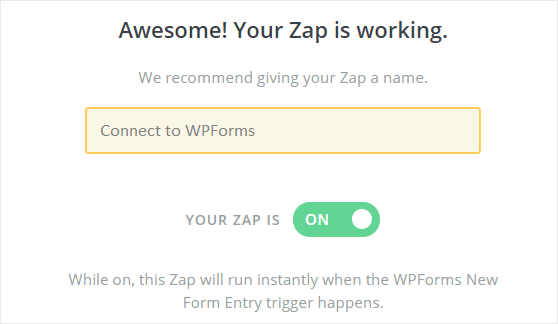
Now whenever a form is submitted by a user, the information will automatically be added to your Airtable account.
Step 7: Embedding Airtable Form in WordPress
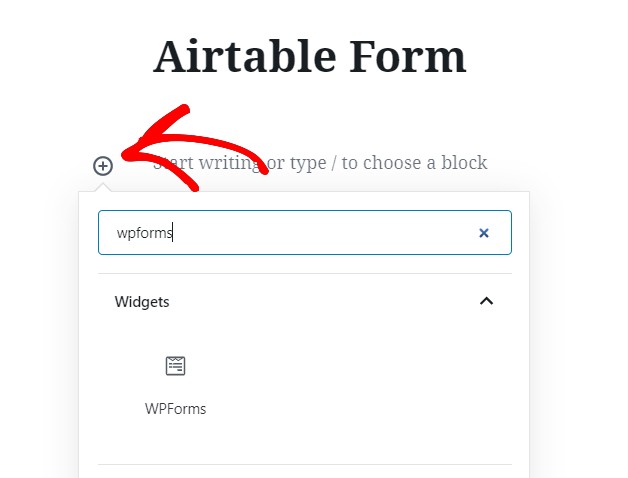
Once the form is ready, you can easily embed it on your website. You can embed it on your posts, pages or your sidebars. To embed your form, go to Pages » Add New. Now add a name to your form and click on the ‘+’ sign to add a block. Now select WPForms from the most used blocks section.
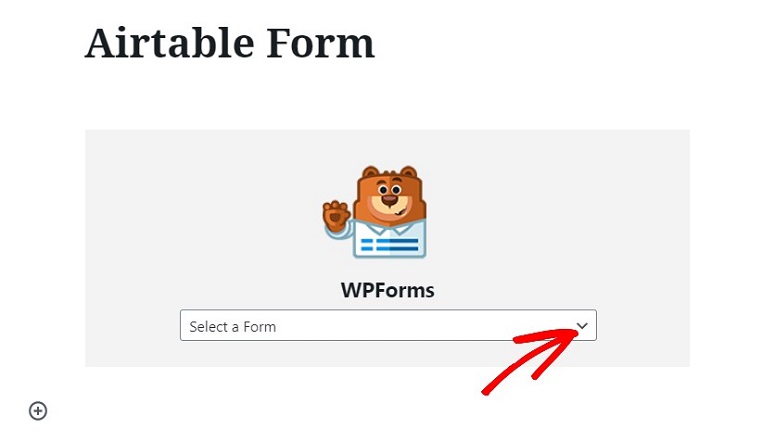
Here click on the drop-down arrow and select the form that you just created with the WPForms plugin.
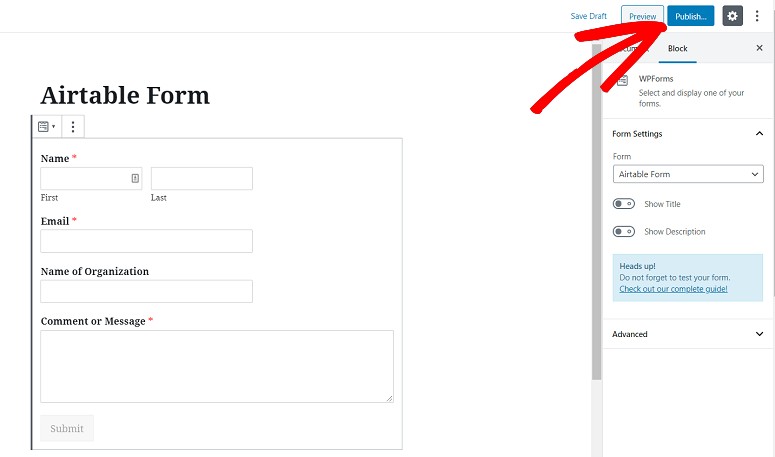
Your form will now be added to the page editor. The final step is to publish your form. To do that just hit the Publish button and your form will be live right away.
So that’s it. Your custom Airtable form has been successfully created. We hope this article is helpful to you. You might also want to check out how to create an email newsletter.

Thanks for this. Just wanted to let you know that, now there is a WPForms add-on that connects WPForms to Airtable directly without Zapier. Check WP connect website.
Hey Stephane,
Thank you for the input, we will be sure to update the article soon to reflect this.