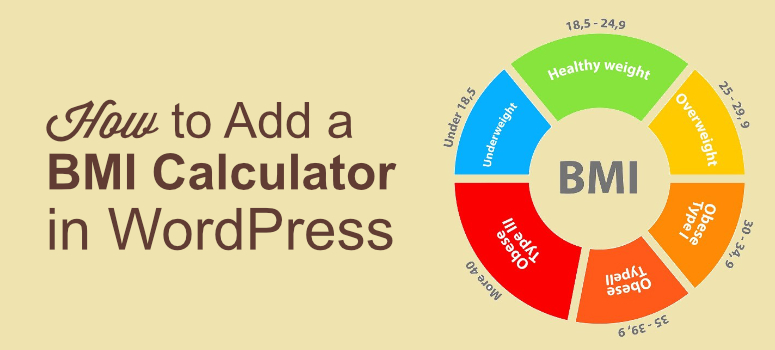
Wondering how to add a BMI calculator to your health and fitness-related website?
Body mass index (BMI) is a measure of body fat based on height and weight that applies to adult men and women. By calculating BMI, you can identify if a person is at a healthy weight. If you have a health and fitness-related website adding a BMI calculator is a great way to attract more visitors and keep them engaged.
In this article, we’ll show you how to add a BMI calculator to your website in a step-by-step manner.
Why Measuring BMI is Important
Calculating your BMI, helps you figure out if you’re at a healthy weight.
In general, the higher the BMI, the higher is the risk of developing various health problems like diabetes, arthritis, liver disease, some types of cancer, high blood pressure, etc.
As a publisher, by adding a BMI calculator to your WordPress site, you can make your visitors engaged and drive more repeat traffic. In this tutorial, we’ll use the Formidable Forms plugin to create the BMI calculator.
Step 1: Download the Formidable Forms Plugin
First off, download the Formidable Forms plugin. Formidable Forms is an advanced WordPress form builder plugin that lets you easily create any types of complext forms within a matter of minutes without having to hire a developer.
With the Business or the Elite plan, you can build a BMI calculator.
Once downloaded, install and activate the plugin on your WordPress site.
Step 2: Create Your BMI Calculator With Formidable Forms
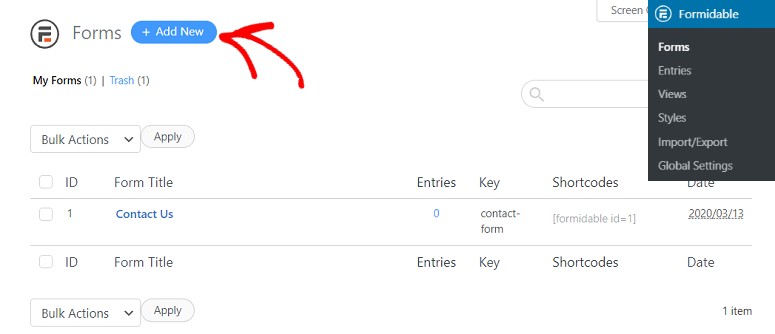
Once your plugin is installed and activated, go to your dashboard and click on Formidable » Add New.
You’ll now be taken to a new page where you’ll have the option to add a form of your choice. By default, it comes with a few options at the top. For adding a BMI calculator, you’ll have to scroll down your screen and check for the BMI calculator option under the Premium Templates option.
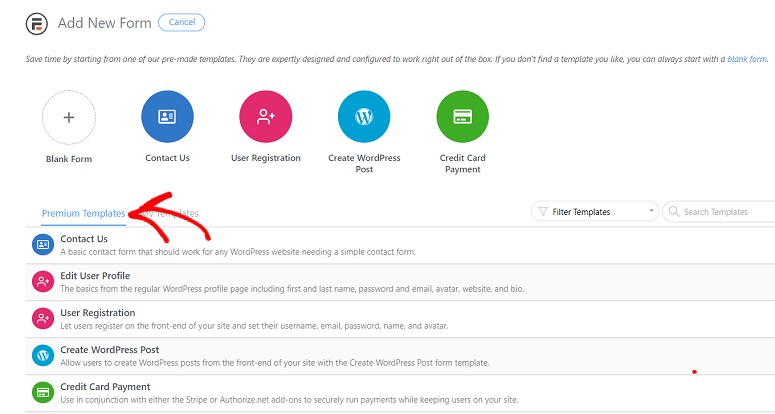
Hover over the BMI calculator option and click Create form.

This will launch a small popup where you can name the form and specify form description. Add a name and click on Create.
Step 3: Designing Your BMI Calculator
Now you’ll be directed to a new screen where you can start designing your calculator. You’ll have 4 tabs at the top of your screen.
- Build
- Settings
- Entries
- Views
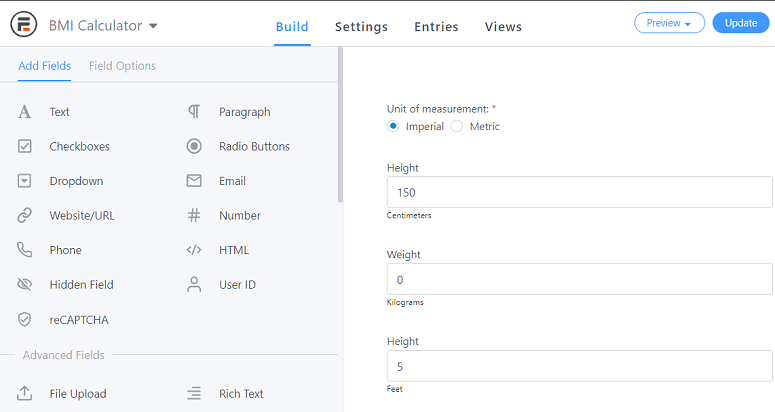
Under the Build tab, you can work on the form fields. You can add a field from the left panel and customize that field in the builder instantly, which is on the right-hand side. Form fields are grouped under 3 different headings.
- Add Fields
- Advanced Fields
- Pricing Fields
You can drag any field from your left and drop it in the builder. If you want a basic BMI calculator, you can go with the default fields. Keep in mind that you can customize the form anytime you want.
Step 4: Configuring BMI Calculator Settings
Once you’ve added all the fields, you can work on its settings. The settings option has 5 different sections.
1. General
Here, you can configure the basic settings, like the form title, description, confirmation message, etc. You’ll also have a BMI calculator key and an embed key that can be used to display the form on your site.
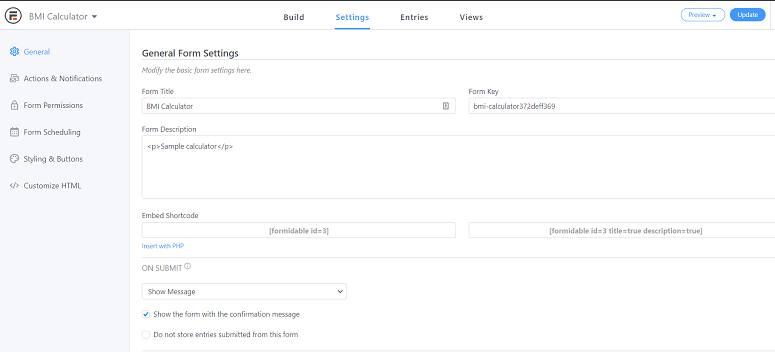
If you want to submit the form without page reloading, you can select Submit this form with AJAX. You can also opt for validating the form with javascript.
You can also set a message to be displayed upon the successful submission of the form.
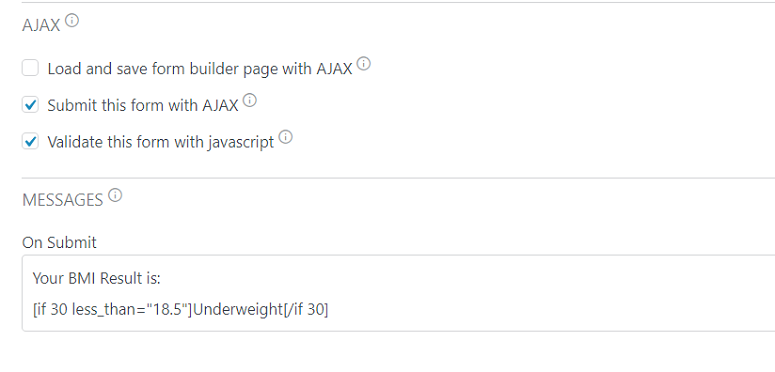
2. Action and Notification
Under Action and Notification, you can add actions to your form. Here you can integrate your form with email marketing service, eCommerce gateway or even specify where to send notifications once a form is submitted.
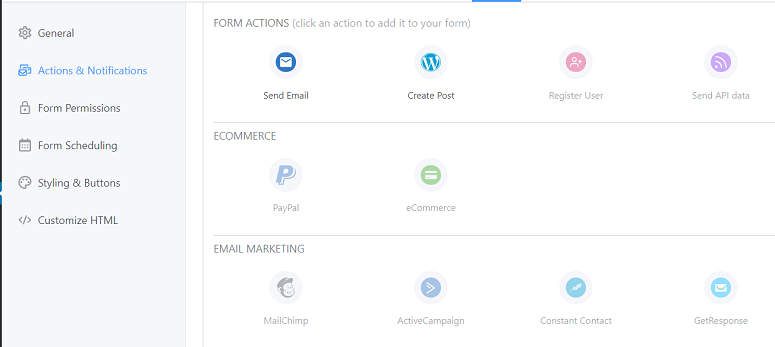
3. Form Permissions
Under this option, you can determine who can see, submit, and edit the form entries. If you want to limit the number of form entries or form visibility, you can configure from here.
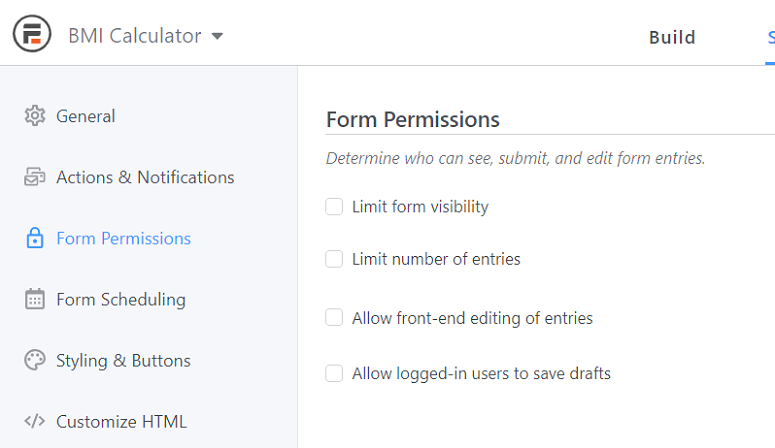
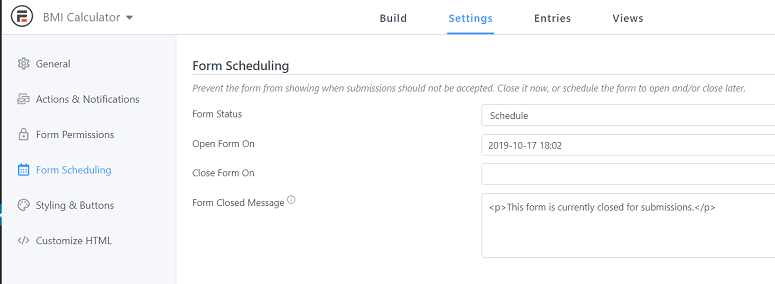
4. Form Scheduling
The next option lets you schedule your forms. With this option, rather than publishing a form immediately, you can choose a date when you want to display it. This option comes in handy especially when you want to display time-sensitive forms.
5. Styling and Buttons
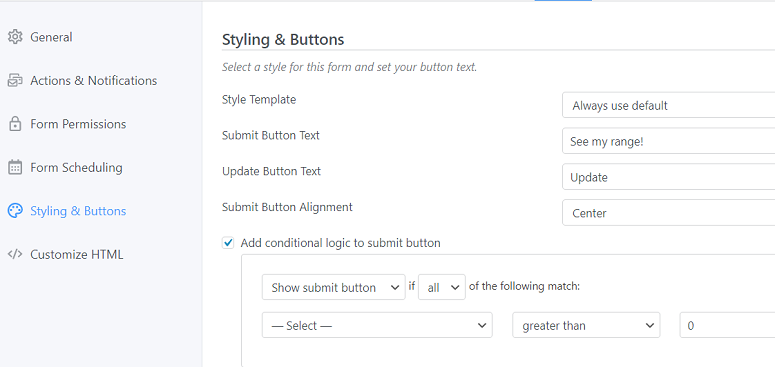
In the next option, you can style your buttons. You can also select a template to make your form look more appealing. You can also choose not to use any template.
You can add your button texts and align them as well. It also has an option to add conditional logic to your submit button.
6. Customize HTML
The last option is to customize your form with HTML tags.
Step 5: Publishing Your BMI Calculator
Once you’re done creating your BMI calculator form, you can go ahead and publish it. To publish your form, you can click on the Publish button on the top right corner of your screen under the Build tab.
Now go to the Settings tab and you’ll see an option called the Embed Shortcode.
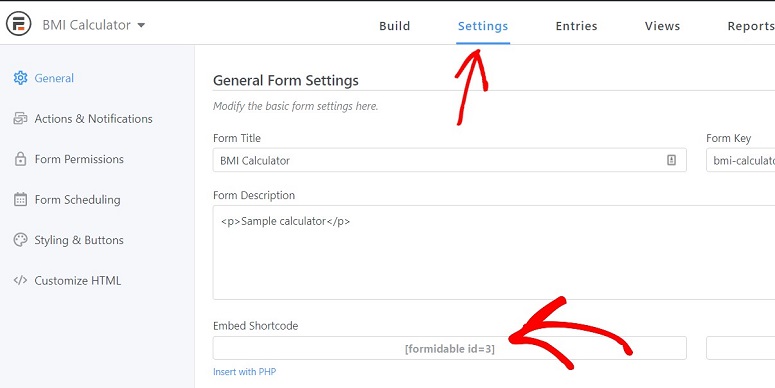
Copy this shortcode and paste it within your posts and pages where you want the BMI calculator to be displayed. Once done, publish the page. Your BMI calculator should now be live on your site.
That’s it. You have successfully published your BMI calculator on your website on your own without coding.
We hope you liked this article on adding a BMI calculator to WordPress. You might also want to check out the best contact form plugins on WordPress. If you’re interested in creating interactive quizzes for your site, then the Thrive Quiz Builder is the best for that.
You can set up health and nutrition quizzes and questionnaires to collect data from your users or to help them select the right diet plan.
We also have more easy tutorials:
- How to Create a File Upload Form in WordPress
- How to Save Form Data in WordPress Database
- How to Track User Journey Before a User Submits a Form
These guides will help you take your form game to the next level.

Comments Leave a Reply