Want to check your Analytics stats right from your WordPress dashboard?
Having your Google Analytics dashboard within your WordPress admin makes it easy to monitor your traffic, so you don’t always have to log into your Google Analytics account for tracking. Based on these reports. you’ll get insights into how to optimize your content for boosting your sales and conversions.
Most of you must already be using Google Analytics to keep an eye on how your site’s performing. In this article, we’ll show you how to check your site stats right from your dashboard by adding Google Analytics dashboard.
If you’re one of them, then stop worrying right now. In today’s article, we’ll show you how to check your site stats right from your dashboard without logging into any other website or tool.
Check Website Stats Right From Your WordPress Dashboard

The easiest way to add stats to your dashboard is to add a plugin, such as MonsterInsights.
MonsterInsights is the best Google Analytics plugin for WordPress. Not only it allows you to add statistics to your site, but it also lets you enable advanced analytics reports, such as eCommerce tracking, form tracking, downloads tracking, and more without the need to touch a line of code.
To know more about this plugin check out our detailed MonsterInsights review.
Let’s check out how to use this plugin to add the stats dashboard to your WordPress.
Step 1: Adding Google Analytics Dashboard to WordPress Admin
The first step is to install the MonsterInsights plugin on your WordPress dashboard.
For more deails, check out how to install a WordPress plugin.
Once MonsterInsights is installed and activated, go to your dashboard and click on Insights » Settings. Here you can enter your MonsterInsights license key that is available in your MonsterInsights account.
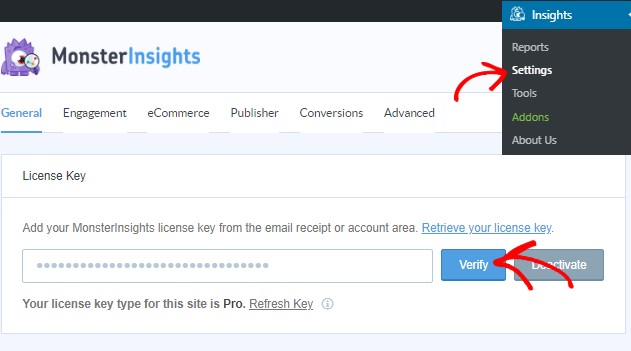
Now click on the Verify key button. Once done you have to connect your website to your Google Analytics account. You can do that by going to Insights » Settings. You’ll see an option called Authenticate with your Google account. Just click on this button.
You’ll now be redirected to a new page where you’ll be asked to log in to your Google account.
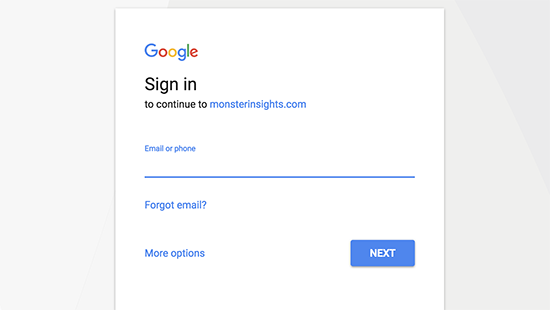
If you’re already logged in to your Google Account, then you can just select the website for which you want to check the stats. If not, enter your login credentials and then click on the Next button and move ahead.
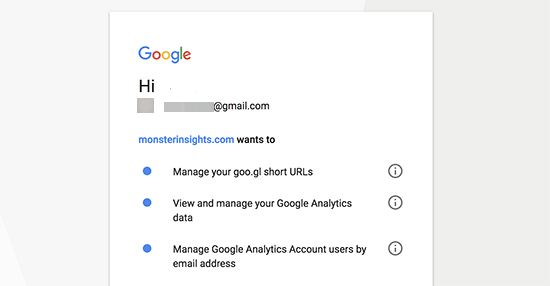
Go ahead and hit the Allow button. The final step is to select the profile you want to track. You need to select your website here and then click on the Complete Authentication button to continue.
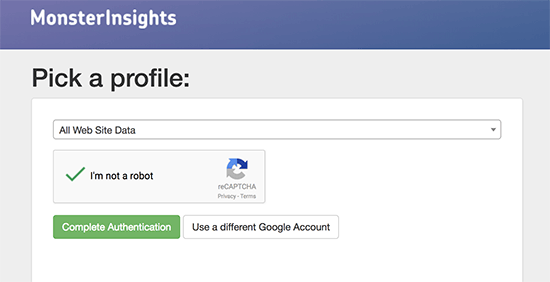
You’ll now be redirected to your WordPress dashboard and see your Google Analytics reports.
Step 2: Viewing Your Google Analytics Dashboard in WordPress
Now that MonsterInsights is installed, activated and linked to your Google Analytics dashboard, you’re ready to check the stats from within your dashboard.
To do that just go to Insights » Reports.
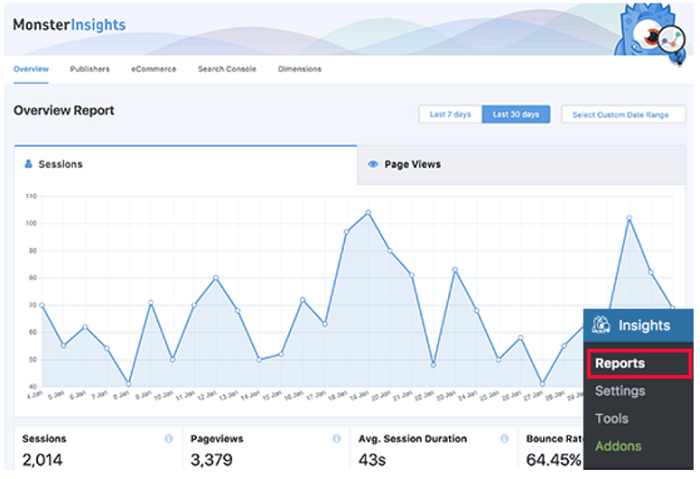
You’ll have a view of your site’s overall reports. Upon scrolling down a little you’ll see the number of New vs. Returning visitors on your site. It also gives you a device breakdown, so you know exactly how many people are using their mobile devices, tabs, laptops. etc to visit your site.
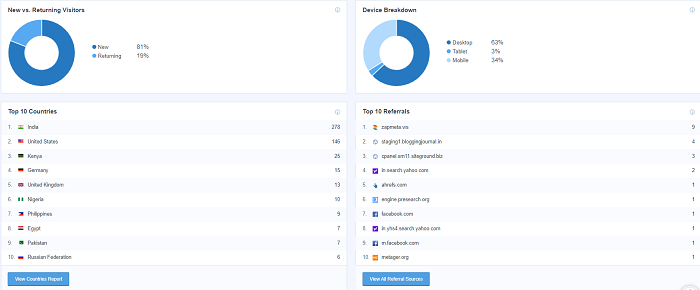
You also have a clear idea of the amount of traffic coming in from different countries, where is your traffic coming from and what are the top pages and posts on your site.
Basically you can see exactly what Google Analytics shows you but more.
What Else Can You View Using MonsterInsights?
Apart from offering the general reports of your website, MonsterInsights also offers you custom reports depending on your settings. Some of them are:
- Affiliate link click report for publishers
- eCommerce reports for eCommerce businesses,
- Google Webmasters report to analyze your Search traffic
- Dimensions report based on the custom dimensions you’ve added
- Form submission tracking
- Real-time site stats
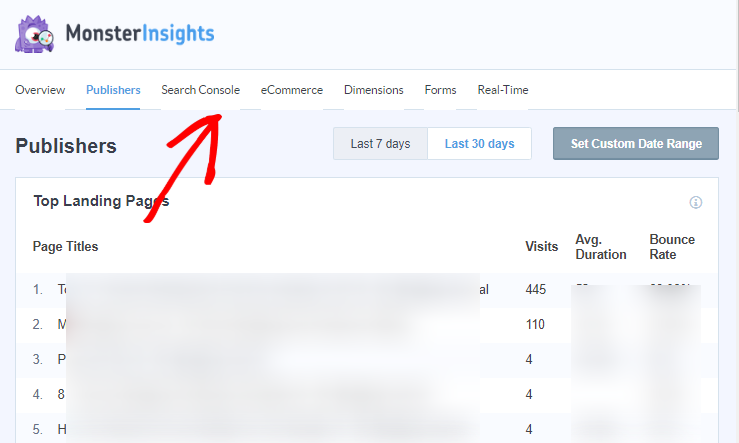
You just need to install the necessary addon and you’re good to go. To install an addon, go to Insights » Addons.
You’ll then see several options on your screen. Depending on which addon you want just hit the Install button and you’re done. Once it’s installed the status of the addon will change to Active.
So that’s it. You now have the stats dashboard on your WordPress site.
You might also want to check out how to set up author tracking in WordPress.

Comments Leave a Reply