Are you wondering how to host a website? The steps to host a website might seem daunting for beginners, but if you want to make a website, hosting your website is necessary. Web hosting is basically a place on the internet for website owners to store their websites. Your website needs a place to live on the web if you want users to be able to visit it.
So, if you’re new to building a website, don’t worry. In this post, we’ll show you how to host a website, step by step, for beginners. Let’s get started.
Step 1: Decide the Type of Website
If you want to make a website, first you have to decide what type of website you’re going to make. The type of website you choose to build depends on what the purpose of your website is.
There are 4 main types of websites, they are:
- Static – A static website, sometimes known as flat or stationary page, is displayed in a web browser exactly how it’s stored. It doesn’t change, it stays the same or “static” for every user who views the site. Static websites would work well for small business websites, personal websites, portfolio websites, etc.
- Dynamic – A dynamic website contains information that changes depending on a number of factors that could include the user who is viewing the site, the time of day, the time zone, or the native language of the country the viewer is located in. For example, Amazon, Facebook, and YouTube are examples of dynamic websites because their content is always changing.
- eCommerce – An eCommerce website (eCommerce stands for electronic commerce) is an online portal where the sale and purchase of products or services and the transfer of funds takes place via the internet. Simply put, whenever you buy or sell something using the internet, you’re involved in eCommerce. This includes websites like Walmart, eBay, and Grubhub. It’s important to note that eCommerce websites are typically dynamic sites.
- Blog – A blog is an online journal or informational website where the content is presented in a reverse chronological order (the newer content is displayed first). Blogs are usually run by one writer or a small group of people to present information in a conversational style. Examples of blogs include our website, IsItWP, The Huffington Post, and Mashable.
So, determine which website is best for your needs and the needs of your audience. For instance, if you have a small business and you want to create a website to promote it, a static website would probably be the best choice for you. Plus, static websites are the easiest and most low-cost to create. You can also check out our expert’s view on how much a website costs.
If you’re not sure whether you should create a blog or a website, check out our post What is a Blog? Blog vs. Website & How Do They Work?
Also, check out our article on best WordPress books including the books on creating a website or blog with WordPress.
After you’ve decided what type of website you want to create, you also need to choose how to build your website. Today there are a number of website builders that allow you to easily create your own website. We recommend you choose WordPress.
WordPress is the most popular website builder platform out there, it actually powers over 30% of all sites on the web. With WordPress, it’s incredibly easy to build a website in no time and you don’t have to know a thing about code. You have complete control over the look of your website because WordPress offers a ton of free themes to give your site a professional look in an instant. You also get access to a wide array of WordPress plugins to make your website more powerful.
Plus, many of the best web hosting services offer WordPress hosting that includes easy 1-click WordPress installation, which brings us to the next step of choosing a web hosting service.
Step 2: Choose a Web Hosting Service
Now, it’s time to choose a web hosting service. Like we mentioned earlier a web host is where your website will be stored on the web. Before you can build a website and make it available to users online, you need to purchase web hosting.
When choosing a web hosting service you want to choose one that offers speed, security, reliability and is
budget friendly along with WordPress hosting if you’ve chosen WordPress as your website builder platform. There are a number of great web hosts that offer WordPress hosting including HostGator and SiteGround.
But the web host we recommend is Bluehost.
Bluehost is an official WordPress recommended hosting provider. With Bluehost you’ll never have to worry about your website being slow, even if you have a lot of traffic. They also provide 24/7 expert support that is always there to help you whenever you run into an issue.
If you’d like to learn more about Bluehost, check out our complete Bluehost review.
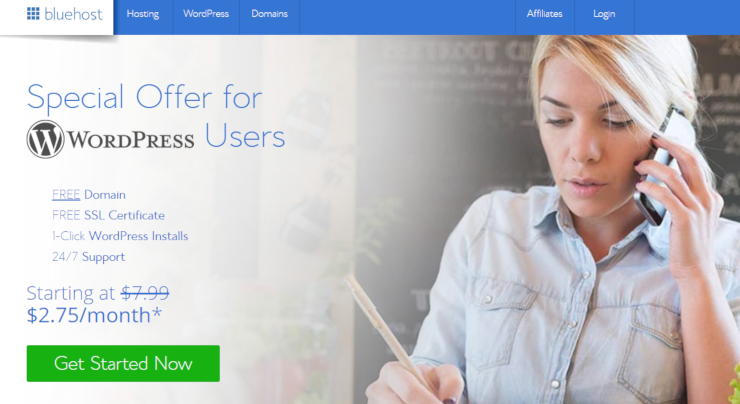
Plus, for IsItWP readers, Bluehost is offering an awesome deal. You can sign up for Bluehost today and get a free domain, SSL certificate, and a huge 60% discount on hosting. With Bluehost, you can start building your website or blog for as low as $2.75 per month. Pay annually and save big on Bluehost.
Bluehost is also a PCI compliant web hosting.
Click Here to Claim This Exclusive Bluehost Offer »
Once you’ve decided to chose Bluehost as your web host, click on our link to the Bluehost website and click on the Get Started Now button. The next step is to choose a web hosting plan.
Step 3: Choose a Web Hosting Plan
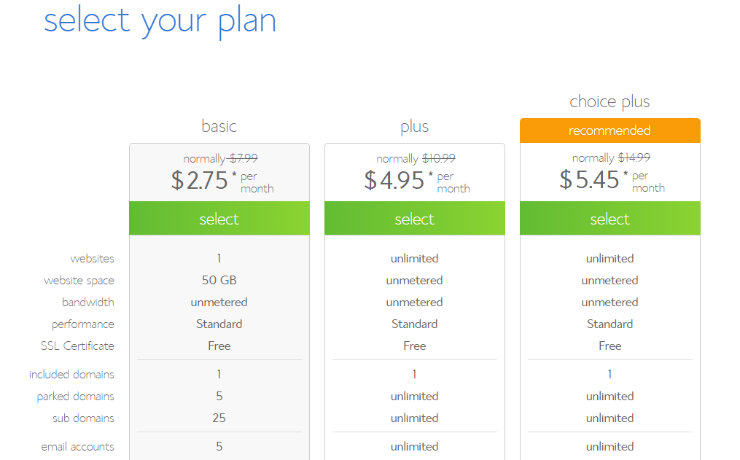
When you sign up for Bluehost, you’ll be prompted to choose a hosting plan. Bluehost offers 3 different hosting plans: Basic, Plus, and Choice Plus. With our exclusive Bluehost offer, the Basic plan is only $2.75 per month, the Plus plan costs $4.95 per month, and the Choice Plus plan costs $5.45 per month. Each of the plans includes a free domain name and SSL certificate.
One of the main differences between the plans is the number of websites you can build and website space. With the Basic plan, you can only build 1 website and you get 50 GB of website space. With the other plans, you can create unlimited websites and you have unmetered website space.
For new website owners, we recommend choosing the Basic plan. Then, as your website and your business grow, you can upgrade your plan as needed.
Related: 10 Best UK Web Hosting Services
After you’ve decided which web hosting plan you need, click the green “Select” button to continue.
Step 4: Choose a Domain Name
After selecting your plan, the next step host a website is to choose a domain name. A domain name is the address people type into the browser URL bar to get to your website. For a more detailed description along with tips on how to choose a good domain name for your website, check out our other post that goes over what a domain name is and how it works.
As we mentioned, with Bluehost you get a free domain name when you sign up for their web hosting service. Once you have selected your Bluehost plan, you’ll be prompted to choose a domain name.
Go to the New Domain section on the page and type in the domain name you chose for your website. Then click the blue Next button.
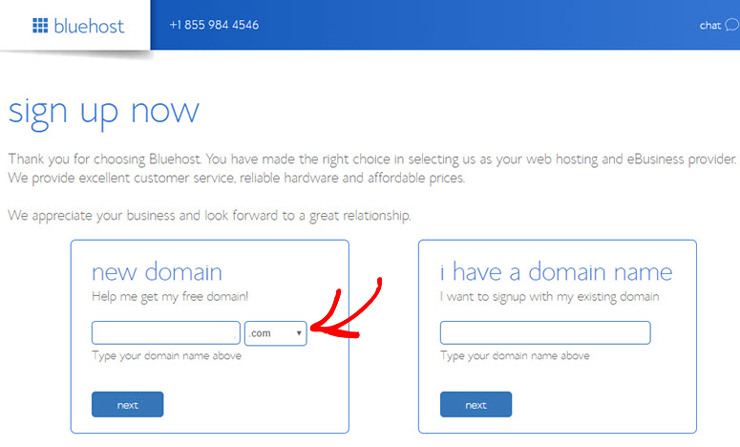
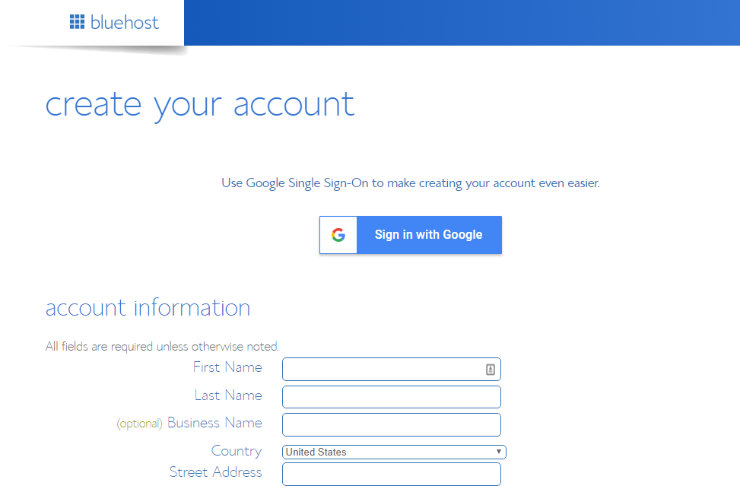
Next, enter in your account information. You can type in your name, email address, and other information if you want or for quicker registration click the Sign in with Google button.
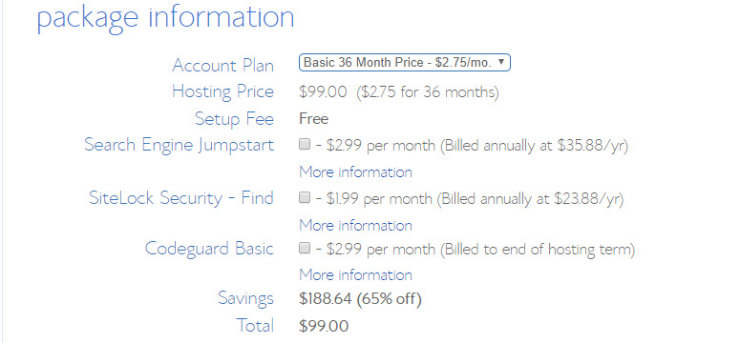
When you’ve finished entering in your details, scroll down to the bottom of the page to the Package Information section. In the Account Plan field you can choose the Basic plan for 12, 24, or 36 months. We recommend you choose the plan for 36 months because you get the most value for your money. Here you can also choose to uncheck the addons that are preselected for you if you like, you can always add them again at a later date if you wish.
Finally, scroll down the page further and enter in your payment details, agree to the terms of service, and click the Submit button.
Step 5: Install WordPress
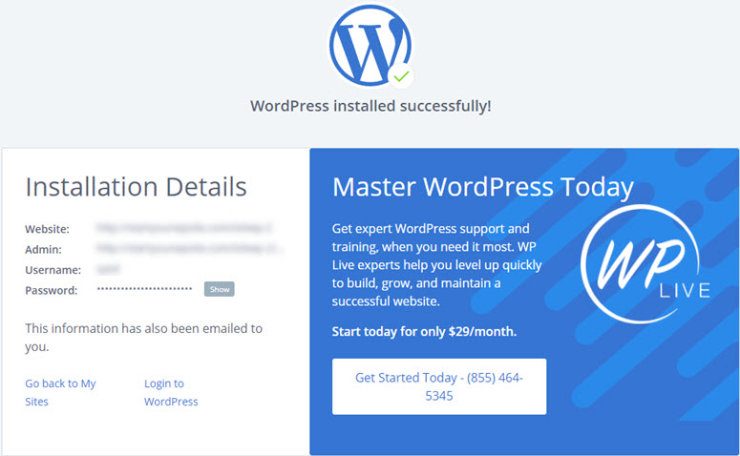
After you’ve purchased your web hosting and chosen your domain name, next you need to install WordPress. Luckily with Bluehost, there’s no complicated installation process. Bluehost will automatically install WordPress for you and you can login to your WordPress site directly from your Bluehost dashboard.
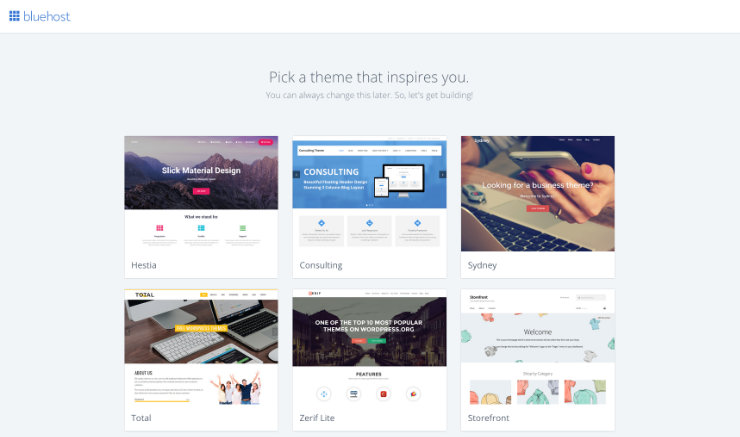
When you’ve finished signing up for your hosting plan, you’ll be prompted to choose a WordPress theme. You can pick any theme during this step to get started because you can always easily change your theme later on.
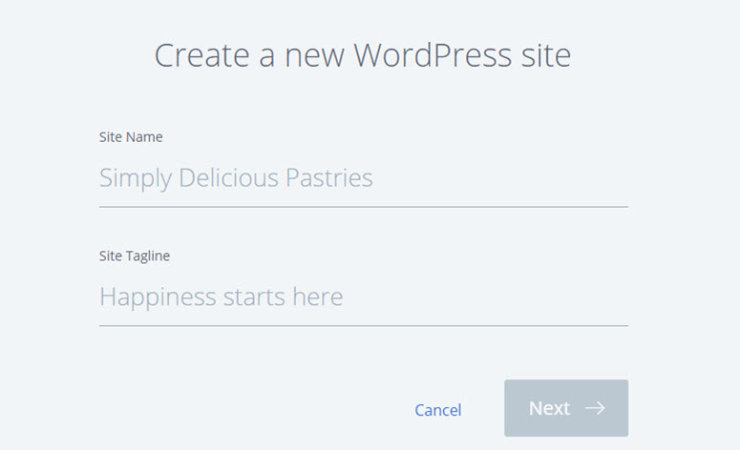
Next, you’ll be asked to pick a name for your website and a tagline.
After entering your details, click Next. Bluehost will then install WordPress for you. When the WordPress installation is complete you’ll see a screen like the one below.
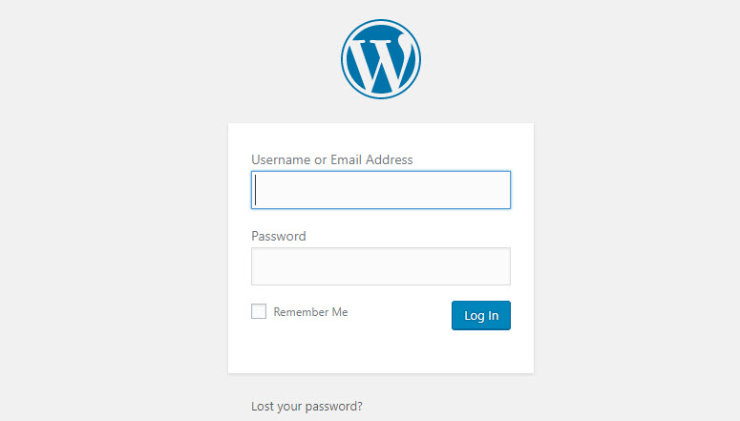
Now you can login to your WordPress website and start building it. To login to your site add wp-admin to the end of your URL, which would look something like this:
http://mywebsite.com/wp-admin
Type in the login credentials that were sent to your email address and click the Log In button.
Now That You Have Your Website Hosted, What Next?
You might be wondering what to do next after logging in to your WordPress website. Well, now is the time to start building and customizing your site! A few things you should do next include:
- Choose a WordPress theme that’s perfect for your website.
- Create pages for your website like a Home page and an About page for instance.
- Add a contact form to your site using a WordPress plugin like WPForms.
- Install some other WordPress plugins to make your website even more powerful such as SEO plugins.
- Start building an email list with a tool like OptinMonster.
We hope you enjoyed this post and that you now know how to host a website. If you liked this article, consider checking out our other posts on what is shared vs VPS vs dedicated hosting and How to Start a WordPress Blog (& Make Extra Income).

Comments Leave a Reply