
Want a quick and simple way to send Slack notifications from your WordPress site?
With the help of a powerful tool like Zapier, you can easily get automated notifications on your Slack workspace from your website. You can send a direct message to a team member or a Slack channel to keep everyone updated.
In this article, we’ll show you how to connect your WordPress site with Slack using Zapier in just 3 steps.
Sending WordPress Slack Notifications Using Zapier

Zapier is an online platform that lets you create automated workflows by connecting multiple applications and services. It offers integrations with over 3000 apps like Google Sheet, Twitter, Gmail, and Slack.
Zapier workflows (also known as a Zap) are made up of 2 parts: Trigger and Action. The trigger is what initiates the whole process and the action is the result of the workflow or the task performed.
Zapier connects with tons of apps and CMS like WordPress to automate manual tasks and help organize your projects.
Using its Slack + WordPress integration, you can send automated Slack notifications about website updates in no time. With this, you get options to send notifications to Slack for triggers like the following:
- New comment on your blog or webpage
- User uploads new media such as images or videos on your site
- Team member publishes a new blog post
- A new WordPress user is created
- Purchase order is made
There are tons of triggers you can use. And as for actions, you aren’t limited to Slack notifications. You can even invite users to a Slack channel and create new channels directly from your WordPress site with Zapier.
In this tutorial, you’ll learn how to get automated messages on your Slack workspace when a user publishes a new post in WordPress. But the steps will remain the same for setting up other Zaps as well.
Before we start, you’ll need to create a Zapier account if you don’t already have one.
Then, you can open the Slack + WordPress integration page and click on the Connect Slack + WordPress button.
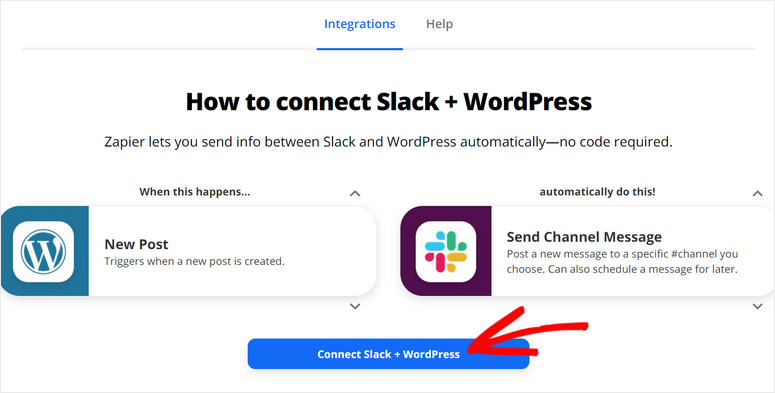
You’ll be able to see the workflow builder in the next window. Now, let’s build our automated workflow for WordPress Slack notifications.
Step 1: Connect Your WordPress Site
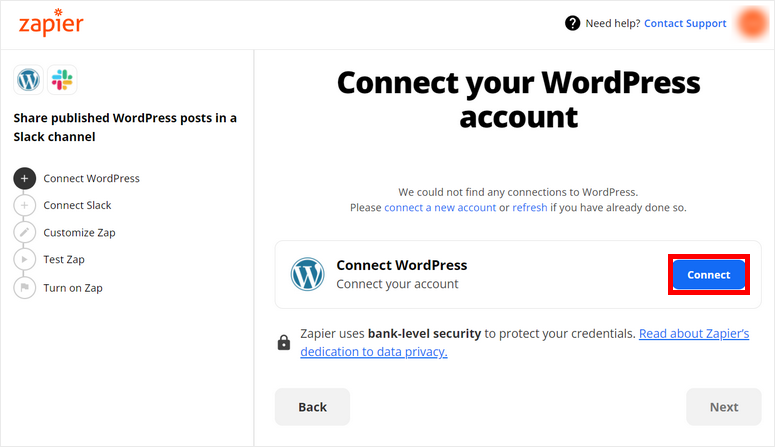
First, you’ll need to add your WordPress account with Zapier by clicking on the Connect button.
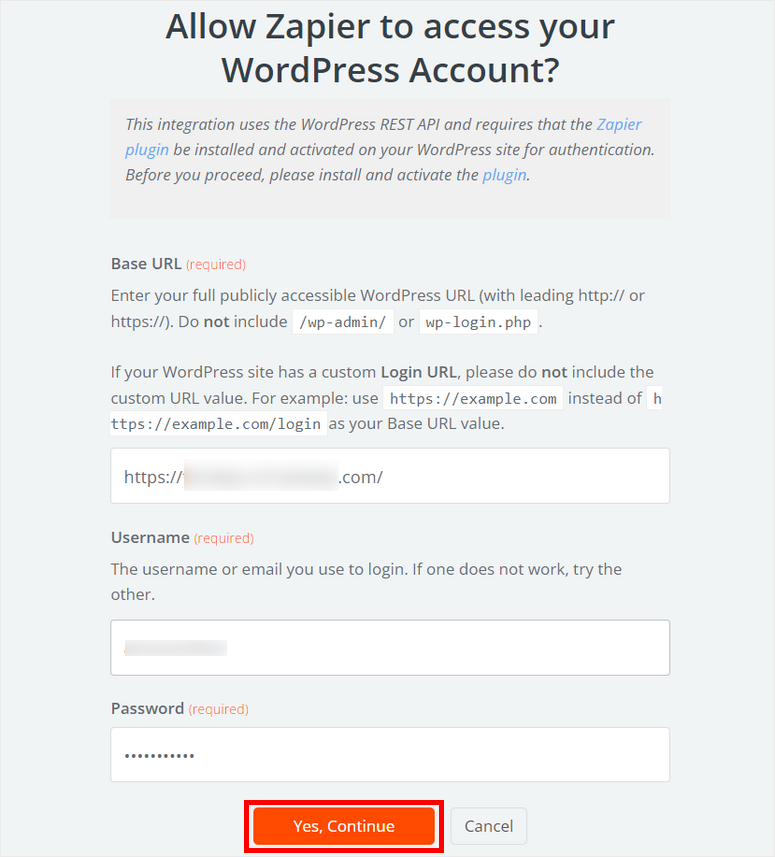
This will open a popup window where you’ll have to enter your website URL, username, and password. Check if your website details are correct and click on the Yes, Continue button.
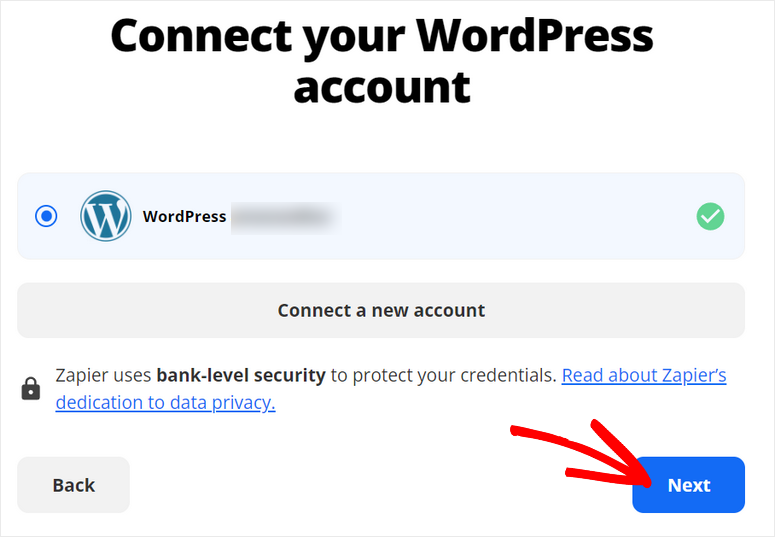
Now you’ll see that your account appears in the dashboard. As you connect multiple accounts, you’ll see them appear here in this list.
Select your WordPress site and click on the Next button.
Now, you’ll see the options to select the Post Status and Post Type.
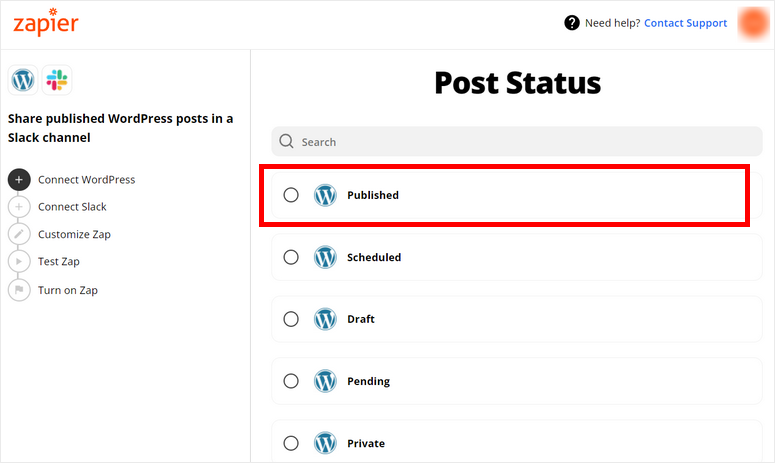
Because we want to send Slack notifications when there’s a new blog post, choose the post status as Published and post type as Posts.
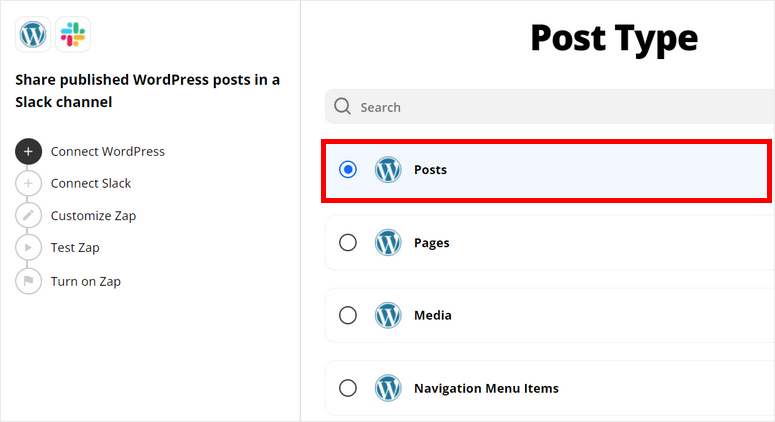
This will be the trigger event for your Slack + WordPress workflow. Now, you need to connect your Slack workspace and set up the action event.
Step 2: Connect With Slack
To integrate your Slack account, hit the Connect button.
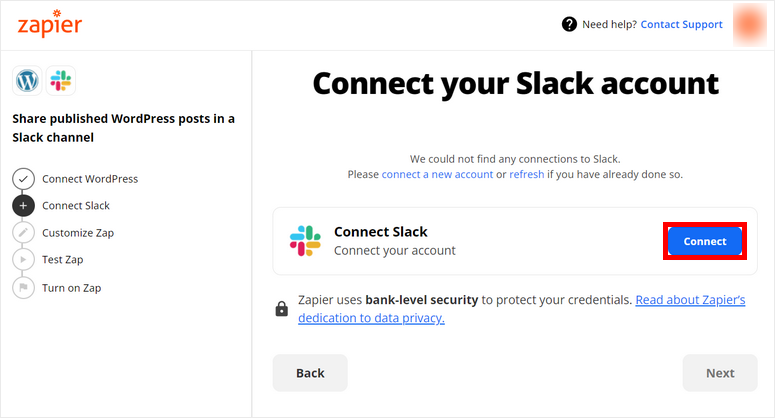
You’ll see a popup window where you can sign in to your Slack workspace.
After your Slack account is connected, you need to allow permissions for Zapier to access your workspace.
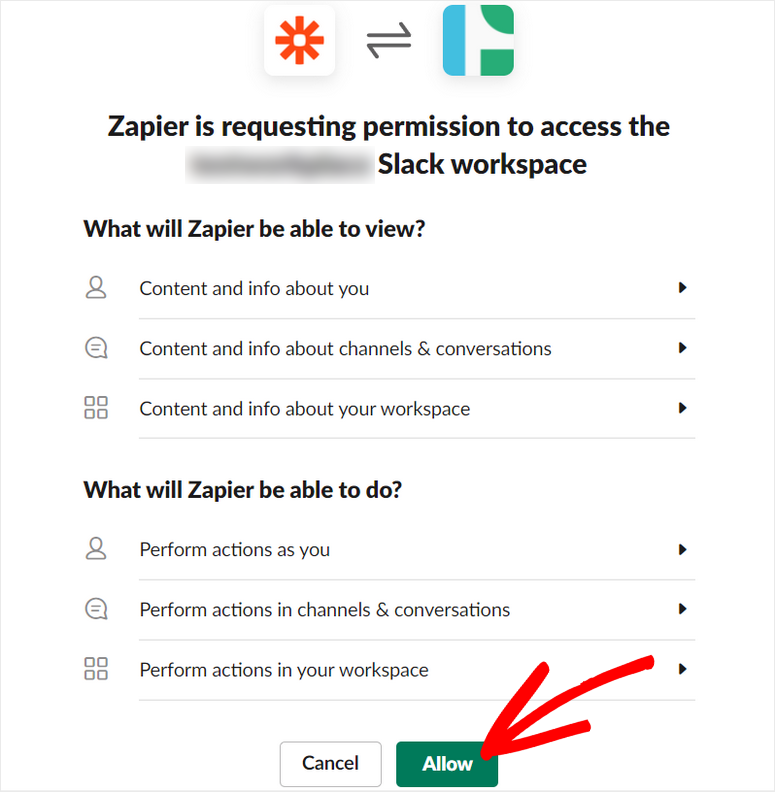
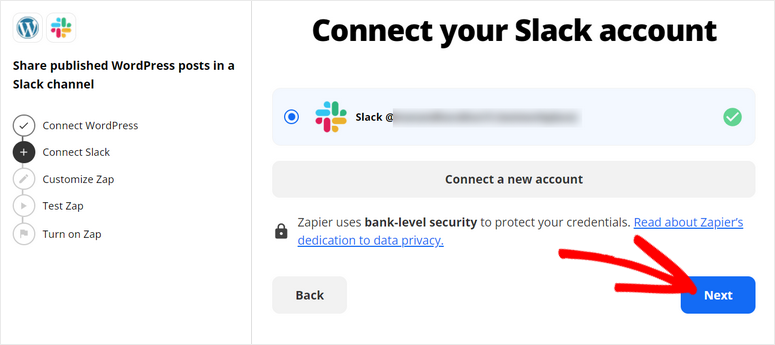
This will take you back to the workflow editor where you can click on Next to continue.
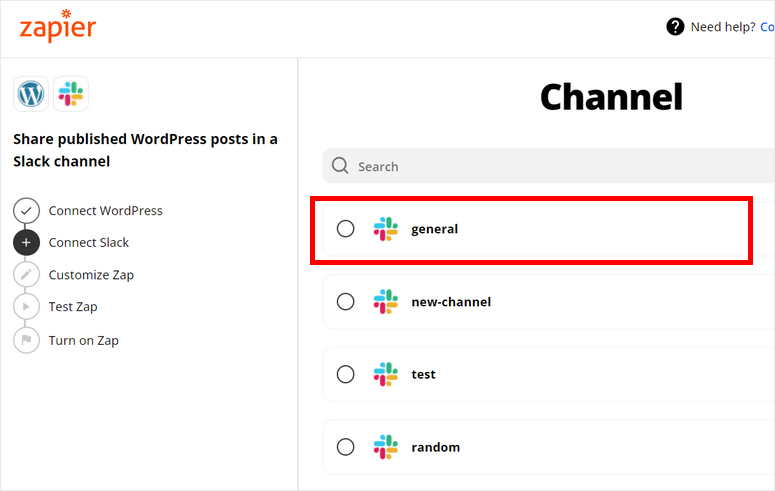
For your action event, you’ll need to select the Slack channel where you want to post the automated notifications. Here, we are selecting the general channel, just as an example.
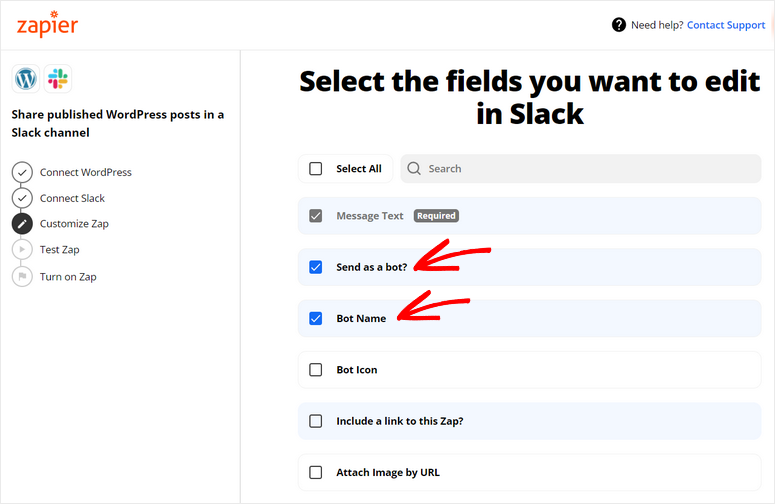
After that, you’ll get the option to choose the fields that you want to edit for the WordPress Slack notifications. The Message Text option is checked by default because it is the main body of your notifications.
If you want to post these notifications as a Slack bot, check the Send as a bot? option.
This will automatically create a bot on your Slack workspace and add it to your selected Slack channel. Check the Bot Name option if you also want to add a custom name for the bot.
You can only edit and customize the fields that you select here, so make sure you get everything you need and click on Next.
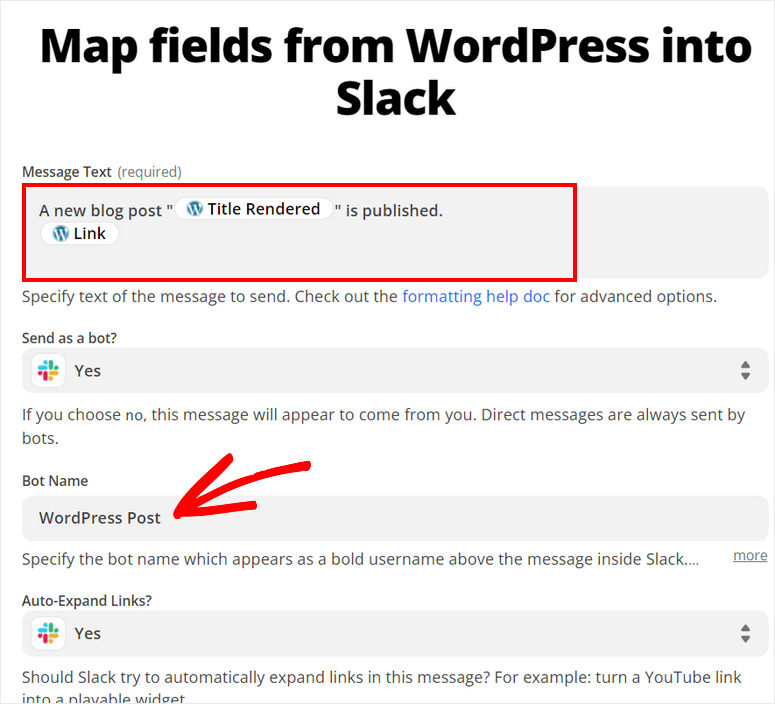
On the next screen, you’ll be able to map the fields and elements from your WordPress site to Slack.
The most important field you need to customize is the Message Text. Zapier gives you tons of options like post author, title, link, and other WordPress elements.
So, you can add the ones that you require and create a custom text for your Slack notifications.
Depending on the fields you’ve selected earlier, you’ll see the options like customizing your bot name, enabling auto-expand links, and more.
Once you’re done with mapping fields from WordPress, click on the Next button.
Step 3: Test your Zap
The last step for this tutorial is to test your Zap or Workflow to see if it is working properly or not.
You can check all the details for the Slack integration on the screen and click on the Send test button in the bottom-right corner.
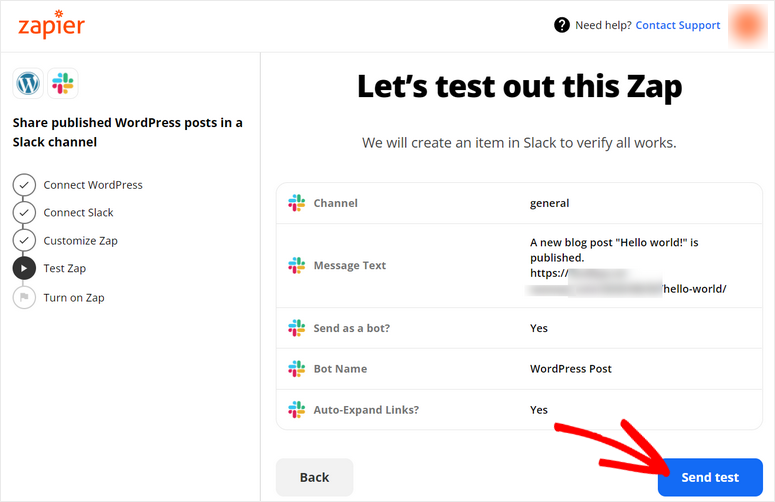
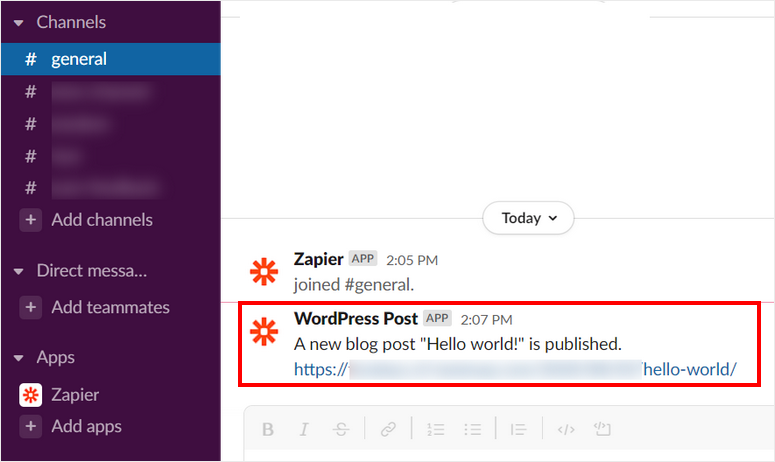
If the test is successful, you’ll see the sample notification on your Slack channel like this:
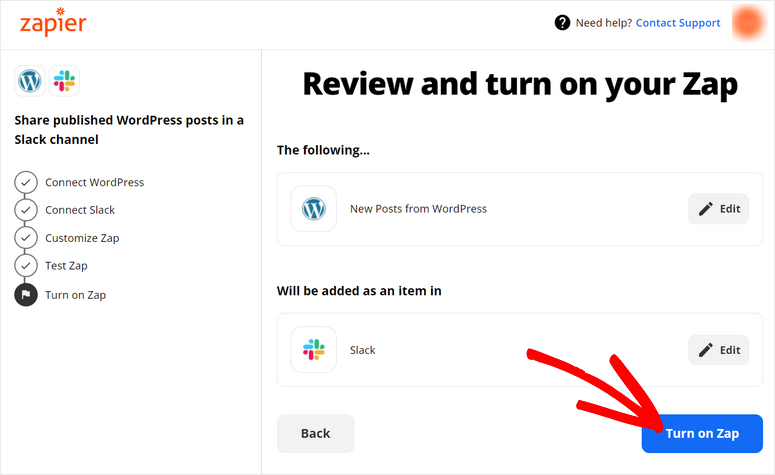
All you have to do now is review your WordPress Slack workflow and click on Turn on Zap to activate the zap.
Now, you’ll receive a notification on Slack whenever someone publishes a new post on your website.
So easy! You’ve learned how to send WordPress Slack notifications using Zapier in just a few steps. You can follow these steps to get notifications about new comments, new users, and updated posts as well.
Like this, you can use Zapier to integrate other applications and services to improve your productivity. Here are some of the useful Zapier integrations for your website:
- WPForms + Zapier: You can connect your WordPress forms with other services such Google Sheets, ActiveCampaign and more. The WPForms plugin also offers a dedicated Zapier addon to make the process easier and faster.
- Social Media Integrations: With Zapier, you can automate your social media campaigns with ease. You’ll never have to manually share your content on Twitter, Instagram, Facebook, and more.
- Google Analytics: Zapier lets you link your WordPress site with powerful tools like Google Analytics. This will help you send your website info directly to your analytics account and generate reports.
That’s all for today! We hope this article helped you learn how to send WordPress Slack notifications with Zapier.
FAQs on Connecting Slack to WordPress
How do I integrate Slack with WordPress?
The best way to integrate Slack with WordPress is by using an automation tool like Zapier or Uncanny Automator. Follow our tutorial above.
How many integrations does Slack have?
Slack has 2600+ integrations with third party apps and platforms.
Can I integrate multiple WordPress websites with a single Slack workspace?
Yes, you can integrate multiple WordPress websites with a single Slack workspace. Each integration would typically use a unique configuration within Slack for distinguishing between the websites.
What do I do if my Slack integration with WordPress is not working correctly?
If you encounter issues, first double-check your plugin settings and Slack configuration. Ensure you’ve entered the correct credentials and configured notifications properly. If you’re still having trouble, consult the plugin’s documentation or support resources.
If you want a specific automation tool for your WordPress site, you can also check Uncanny Automator. It is the most powerful and user-friendly automation plugin that lets you connect with over 1,000 WordPress plugins and external apps.
With this, you can directly embed Slack in WordPress and send automated notifications from your website.
For your next steps, you may want to check these resources out:
- How to Automate Lead Verification in WordPress (Step by Step)
- Best Marketing Automation Tools for WordPress (Compared)
- Best Plugins to Track WordPress Post Views [PAID + FREE]
These posts will help you generate more leads and automate your marketing campaigns. The last one will help you track views for each post on your website.

Comments Leave a Reply